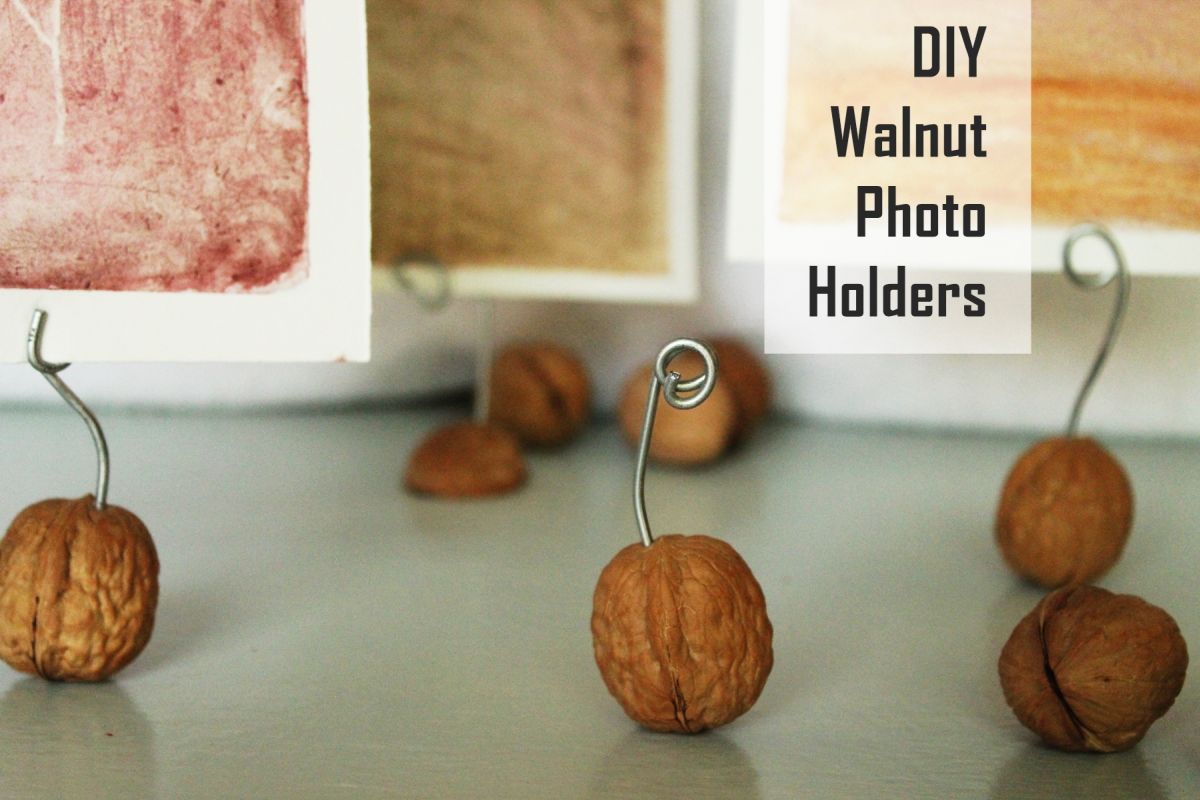
DIY Walnut Photo Holders
For displaying small artwork or photos, there is zero sweeter than these DIY walnut photo holders. They are perfect for the fall season and but equally sweet as tin be. As a bonus, they're incredibly easy to create.
 View in gallery
 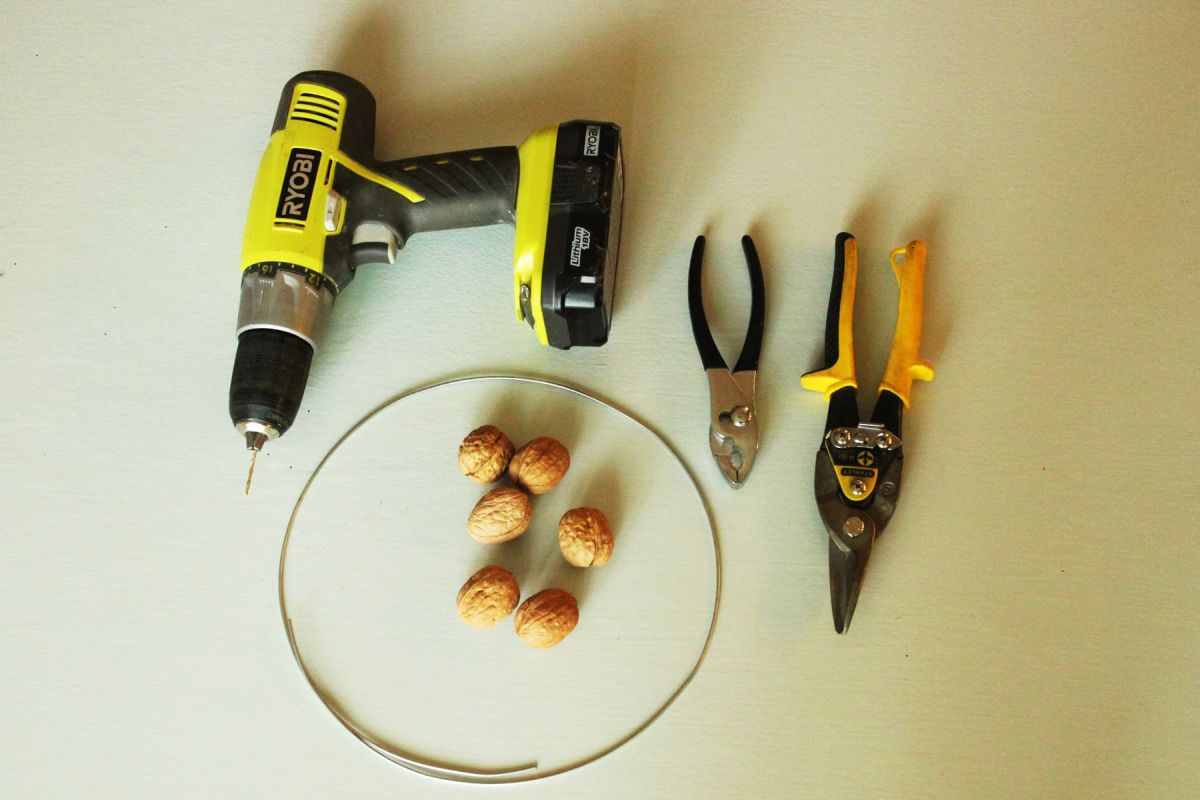 View in gallery
 Materials Needed:
- Walnuts in shells
- Wire
- Drill, pliers, can snips
 View in gallery
 To begin, you need to select the walnuts with the flattest lesser sides that you tin.
 View in gallery
 Brand sure the walnuts you lot choose can stand on their own, and pretty securely, as well. When you add in the extra weight and balance-displacing factors of the wire and photo, the walnuts' stability is lessened.
 View in gallery
 Once you've chosen the best (flattest) walnuts, it's time to choose your drill fleck. Match it precisely to your wire thickness.
 View in gallery
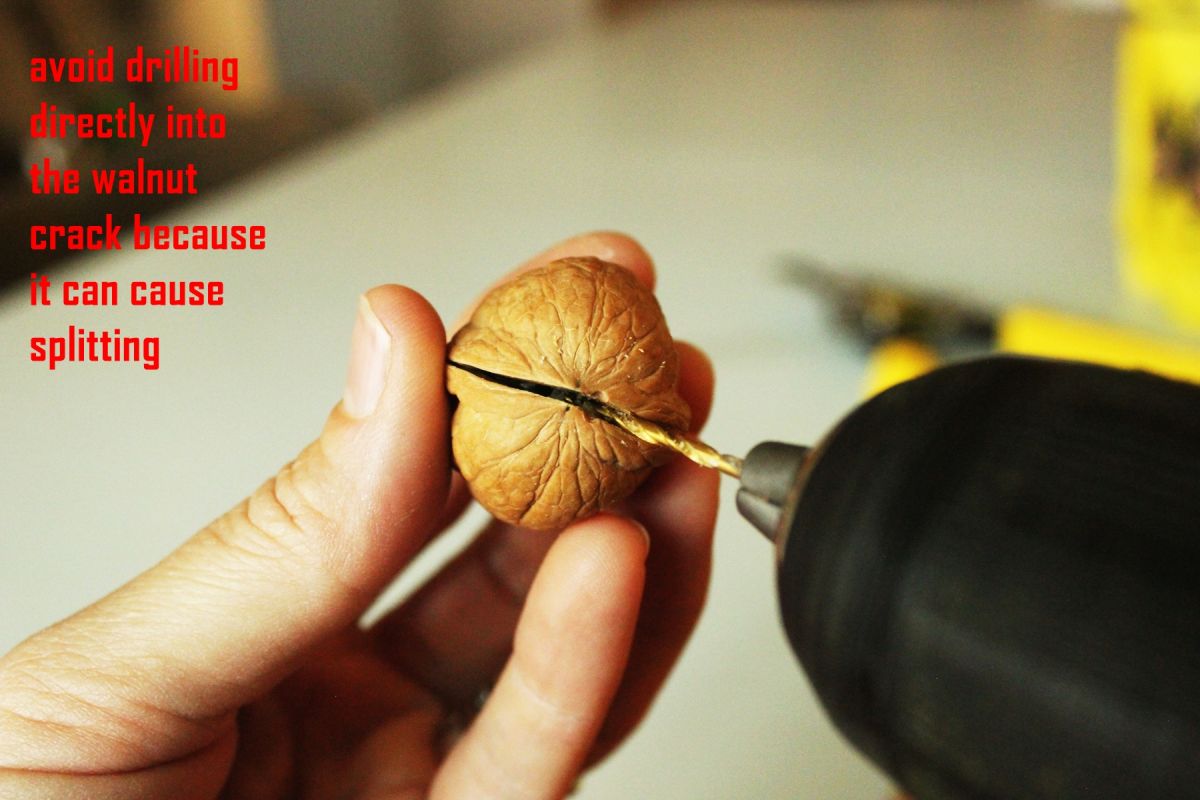
 Carefully drill a hole into your walnut, all the way through the flesh but Not through the other side of your walnut.
 View in gallery
 Keep the drilled hole precise so that it fits your wire snugly.
 View in gallery
 (Tip: Despite the photos you lot run into previously, it is not best to drill your hole into the walnut'due south crack because it tends to split. Drill but off to the side of the crack for consistently best results.)
 View in gallery
 Trim 4"-vi" of wire with your tin snips. The thicker (e.g., heavier) your wire, the less length yous volition want considering your walnut won't be strong enough to hold too much weight.
 View in gallery
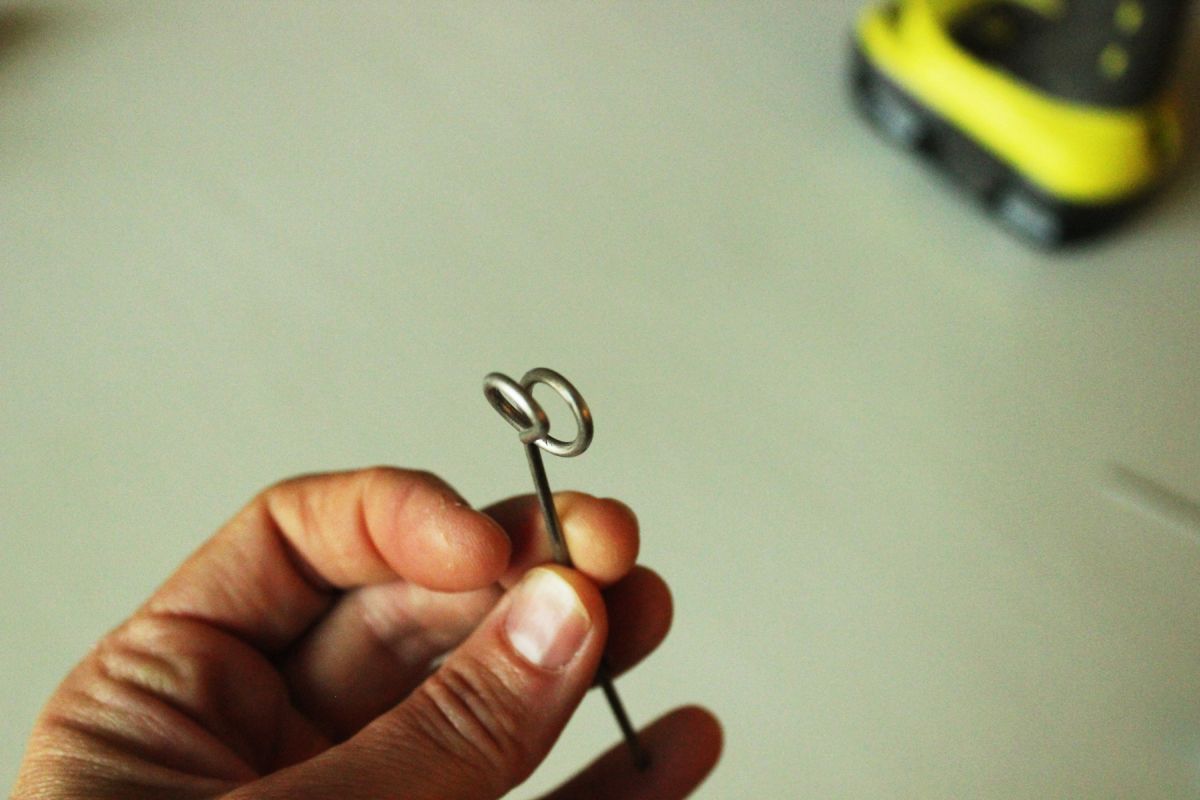
 Apply pliers or needlenose pliers to bend one end of your wire into a circle.
 View in gallery
 Your circle should wrap effectually itself enough that a photo can fit in there deeply.
 View in gallery
 Use pliers to clamp the wire arcs together so they are just broad enough for a photograph to stay betwixt them. This photo shows the wires touching, but they will afterward exist separated slightly to accommodate the artwork.
 View in gallery
 Spiral your wire carefully into the drilled hole in the walnut. I say "spiral" it in there because you lot'll want the hole to be tight plenty that a twisting motility is required to go the wire to stay. If your wire is slightly loose, consider adding in super gum and letting it dry to secure the wire amend.
 View in gallery
 Stand your walnut upright. If information technology tips over, bend or movement the wire effectually until you lot accomplish a better residuum.
Your walnut needs to exist able to stand securely on its ain with the wire in information technology earlier adding the photo or artwork. If it just doesn't, consider removing the wire and snipping off an inch or two. Or glue a coin to the bottom of your walnut to help flatten it out. Those methods were not used for this tutorial, so I'm not sure how well they would piece of work, but they are ideas.
 View in gallery
 Think how that one walnut split down the middle? You lot can use the halves for photo holders also, if you'd like. Drill a hole in the same fashion, and insert the wire.
 View in gallery
 The truth is, this half-walnut was the sturdiest walnut photograph holder of all of them.
 View in gallery
 Insert your artwork and/or photos into your new DIY walnut photograph holders.
 View in gallery
 These are absolutely charming and perfectly textural and thematic for autumn décor.
 View in gallery
 Modest watercolor artwork, done past a v-year-old, looks almost professional with such distinct displaying mechanisms.
 View in gallery
 Nosotros promise y'all savour creating your own DIY walnut photo holders for the fall season. Happy DIYing!
Source: https://www.homedit.com/walnut-photo-holders/
0 Response to "DIY Walnut Photo Holders"
Post a Comment